- size (small, normal, large, xlarge),
- orientation (port, land, square)
- resolution (ldpi, mdpi, hdpi, xhdpi)
- Implement a program demonstrating various possibilities for changes in the color, size and font style (of the displayed TextView content), as a result of pressing different buttons or selecting various menu options.
- Create your implementation of a general-purpose mathematical calculator.
- Develop some kind of multiple-choice e-learning application, that supports memorizing the correlation of predefined number of word-pairs, in two different languages (e.g. Polish and English)
- Layouts / Lesson 4: Graphical User Interfaces (Victor Matos)
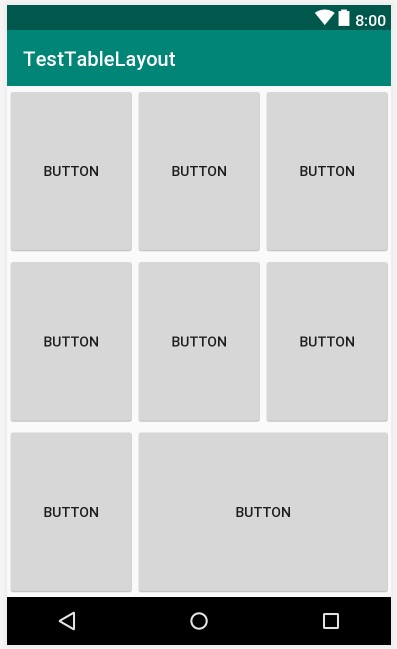
- TableLayout / An Android TableLayout and TableRow Tutorial
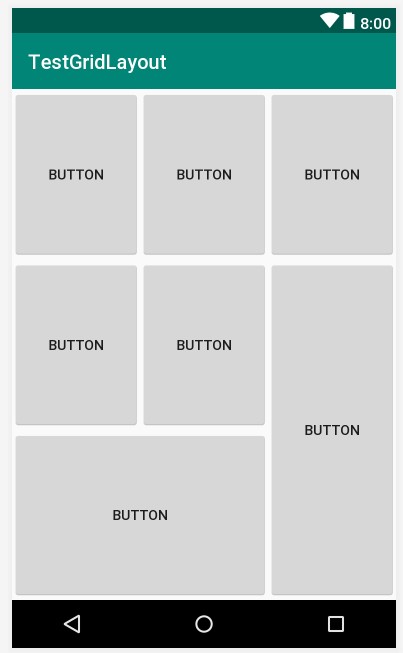
- GridLayout / Using the Android GridLayout Manager in Android Studio Designer
- GridLayout / Working with the Android GridLayout using XML Layout Resources
- ConstraintLayout / ConstraintLayout
to design your views (Android 7, 2016)
- Building The UI Constraint Layout - Orientation And Resolution
- Building The UI Constraint Layout - A Calculator App example
Regular "matrix of buttons", using XML: TableLayout or GridLayout: